Eureka! I found my RadioShack Digital Multimeter.
In a recent blog post, I said I would like to use a multimeter to test the actual voltage output of the GyroVu USB TO PANASONIC DMC-GH2 (DMW-BLC12) BATTERY 40″ CABLE w/ 3.1A USB POWER SUPPLY that provides continuous power for my Panasonic Lumix DMC-FZ300 superzoom bridge camera. This blog post features the results from that test and more.
Panasonic rechargeable Li-ion camera battery
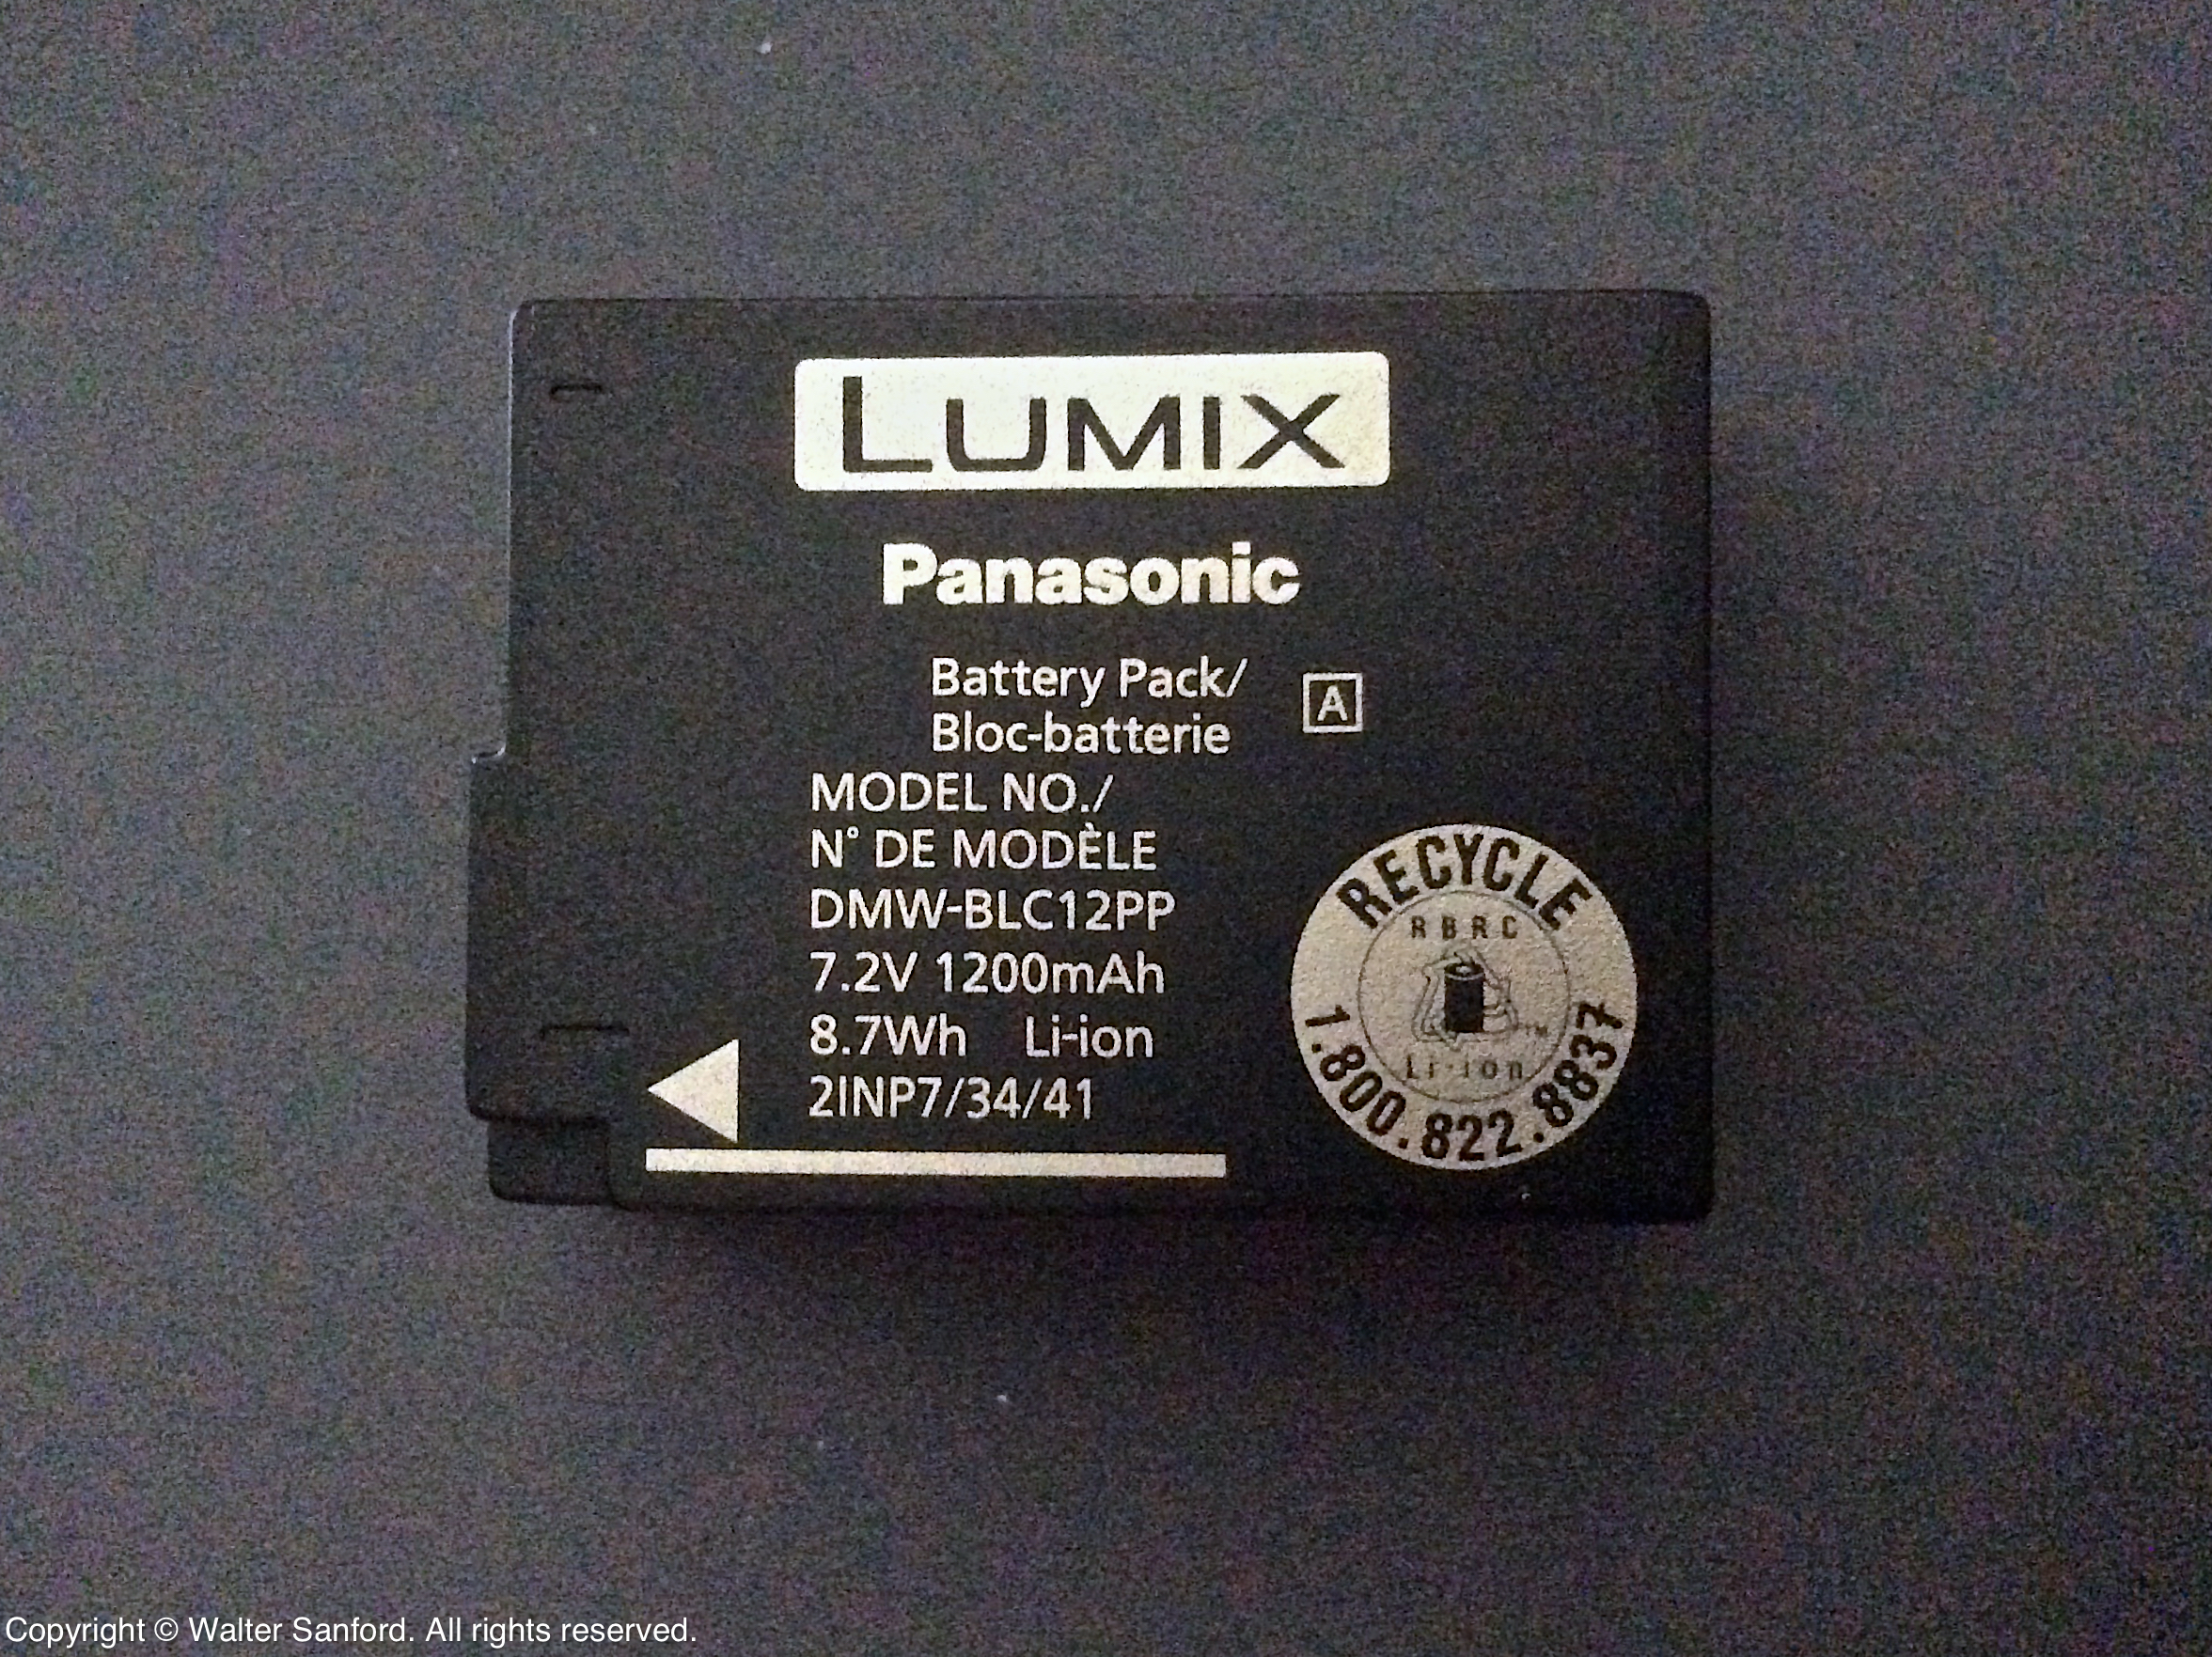
The Panasonic Lumix DMC-FZ300 uses a Panasonic DMW-BLC12 Rechargeable Lithium-Ion Battery (7.2V, 1200mAh), shown below.

Panasonic DMW-BLC12PP 7.2V Li-ion battery (front).
The positive and negative terminals of the battery are marked on the back of its case.

Panasonic DMW-BLC12PP 7.2V Li-ion battery (back).
I set the multimeter to measure voltage and touched the black test lead to the negative (-) terminal, then touched the red test lead to the positive (+) terminal. The LCD on the multimeter displayed a voltage of 07.29V, as shown below. That’s good!

Voltage output from Panasonic 7.2V Li-ion battery.
GyroVu continuous power adapter
Next, the GyroVu “USB Charger” (shown below, to the lower-left) was plugged in a 120V AC electrical outlet. The GyroVu dummy battery was connected to the 3100mA USB connector on the GyroVu USB Charger.
Although the positive and negative terminals of the dummy battery aren’t marked on its case, they are in the same places as on the Li-ion battery.
Once again I set the multimeter to measure voltage and touched the black test lead to the negative (-) terminal, then touched the red test lead to the positive (+) terminal. The LCD on the multimeter displayed a voltage of 08.36V, as shown below.

Voltage output from GyroVu dummy battery for Panasonic.
GyroVu says the output voltage of the dummy battery is 8.0V, so 8.36V seems to be within specs.
For what it’s worth, the Owner’s Manual for the model of RadioShack Digital Multimeter that I used specifies the accuracy of the multimeter is +/-0.8% of the reading, or in this case +/-0.07V.
Therefore I think it’s safe to say the GyroVu dummy battery has a slightly higher voltage than the Panasonic Li-ion battery. Is the higher voltage cause for concern?
Perhaps the more important question is whether amperage matters more than voltage. Regular readers of my blog might recall that I used my Drok USB Tester to measure an amperage of 0.45A drawn by the camera when it was connected to the GyroVu adapter and powered on. Is that amperage safe for the camera?
I’m not sure of the answer to either question, although I am certain further investigation is required.
Anker external power bank
Each GyroVu “dummy battery” adapter cable features a USB connector that can be used to connect your digital camera to an external power bank such as the Anker PowerCore+ 26800 PD 45W), shown below.
My Drok USB Tester was connected to one of two USB ports on the Anker power bank. The output voltage of the power bank was 5V, same as the GyroVu “USB Charger.”
The GyroVu dummy battery was plugged into one of two USB ports on the Anker power bank. Once again I set the multimeter to measure voltage and touched the black test lead to the negative (-) terminal, then touched the red test lead to the positive (+) terminal. The LCD on the multimeter displayed a voltage of 08.36V (shown above) — exactly the same as when I used the GyroVu “USB Charger” as the source of continuous power.
At this point I think it’s safe to say the Anker power bank is safe to use as a source of continuous power for my Panansonic Lumix DMC-FZ300 camera, that is, assuming the ~8.0V output of the GyroVu dummy battery isn’t a problem.
Related Resources
This blog post is one in a series of posts related to continuous AC power and long-lasting battery power for select Canon, Fujifilm, and Panasonic digital cameras.
Copyright © 2021 Walter Sanford. All rights reserved.