In a recent blog post, I wrote …
The best advantage of a truly telecentric lens is there should be little or no “focus breathing” as the camera moves closer to/farther from the subject. Essentially that means the apparent size of the subject should remain the same. That should enable better focus stacking because the outline of the subject is constant. Source Credit: Experimenting with a telecentric lens rig (plus Post Update).
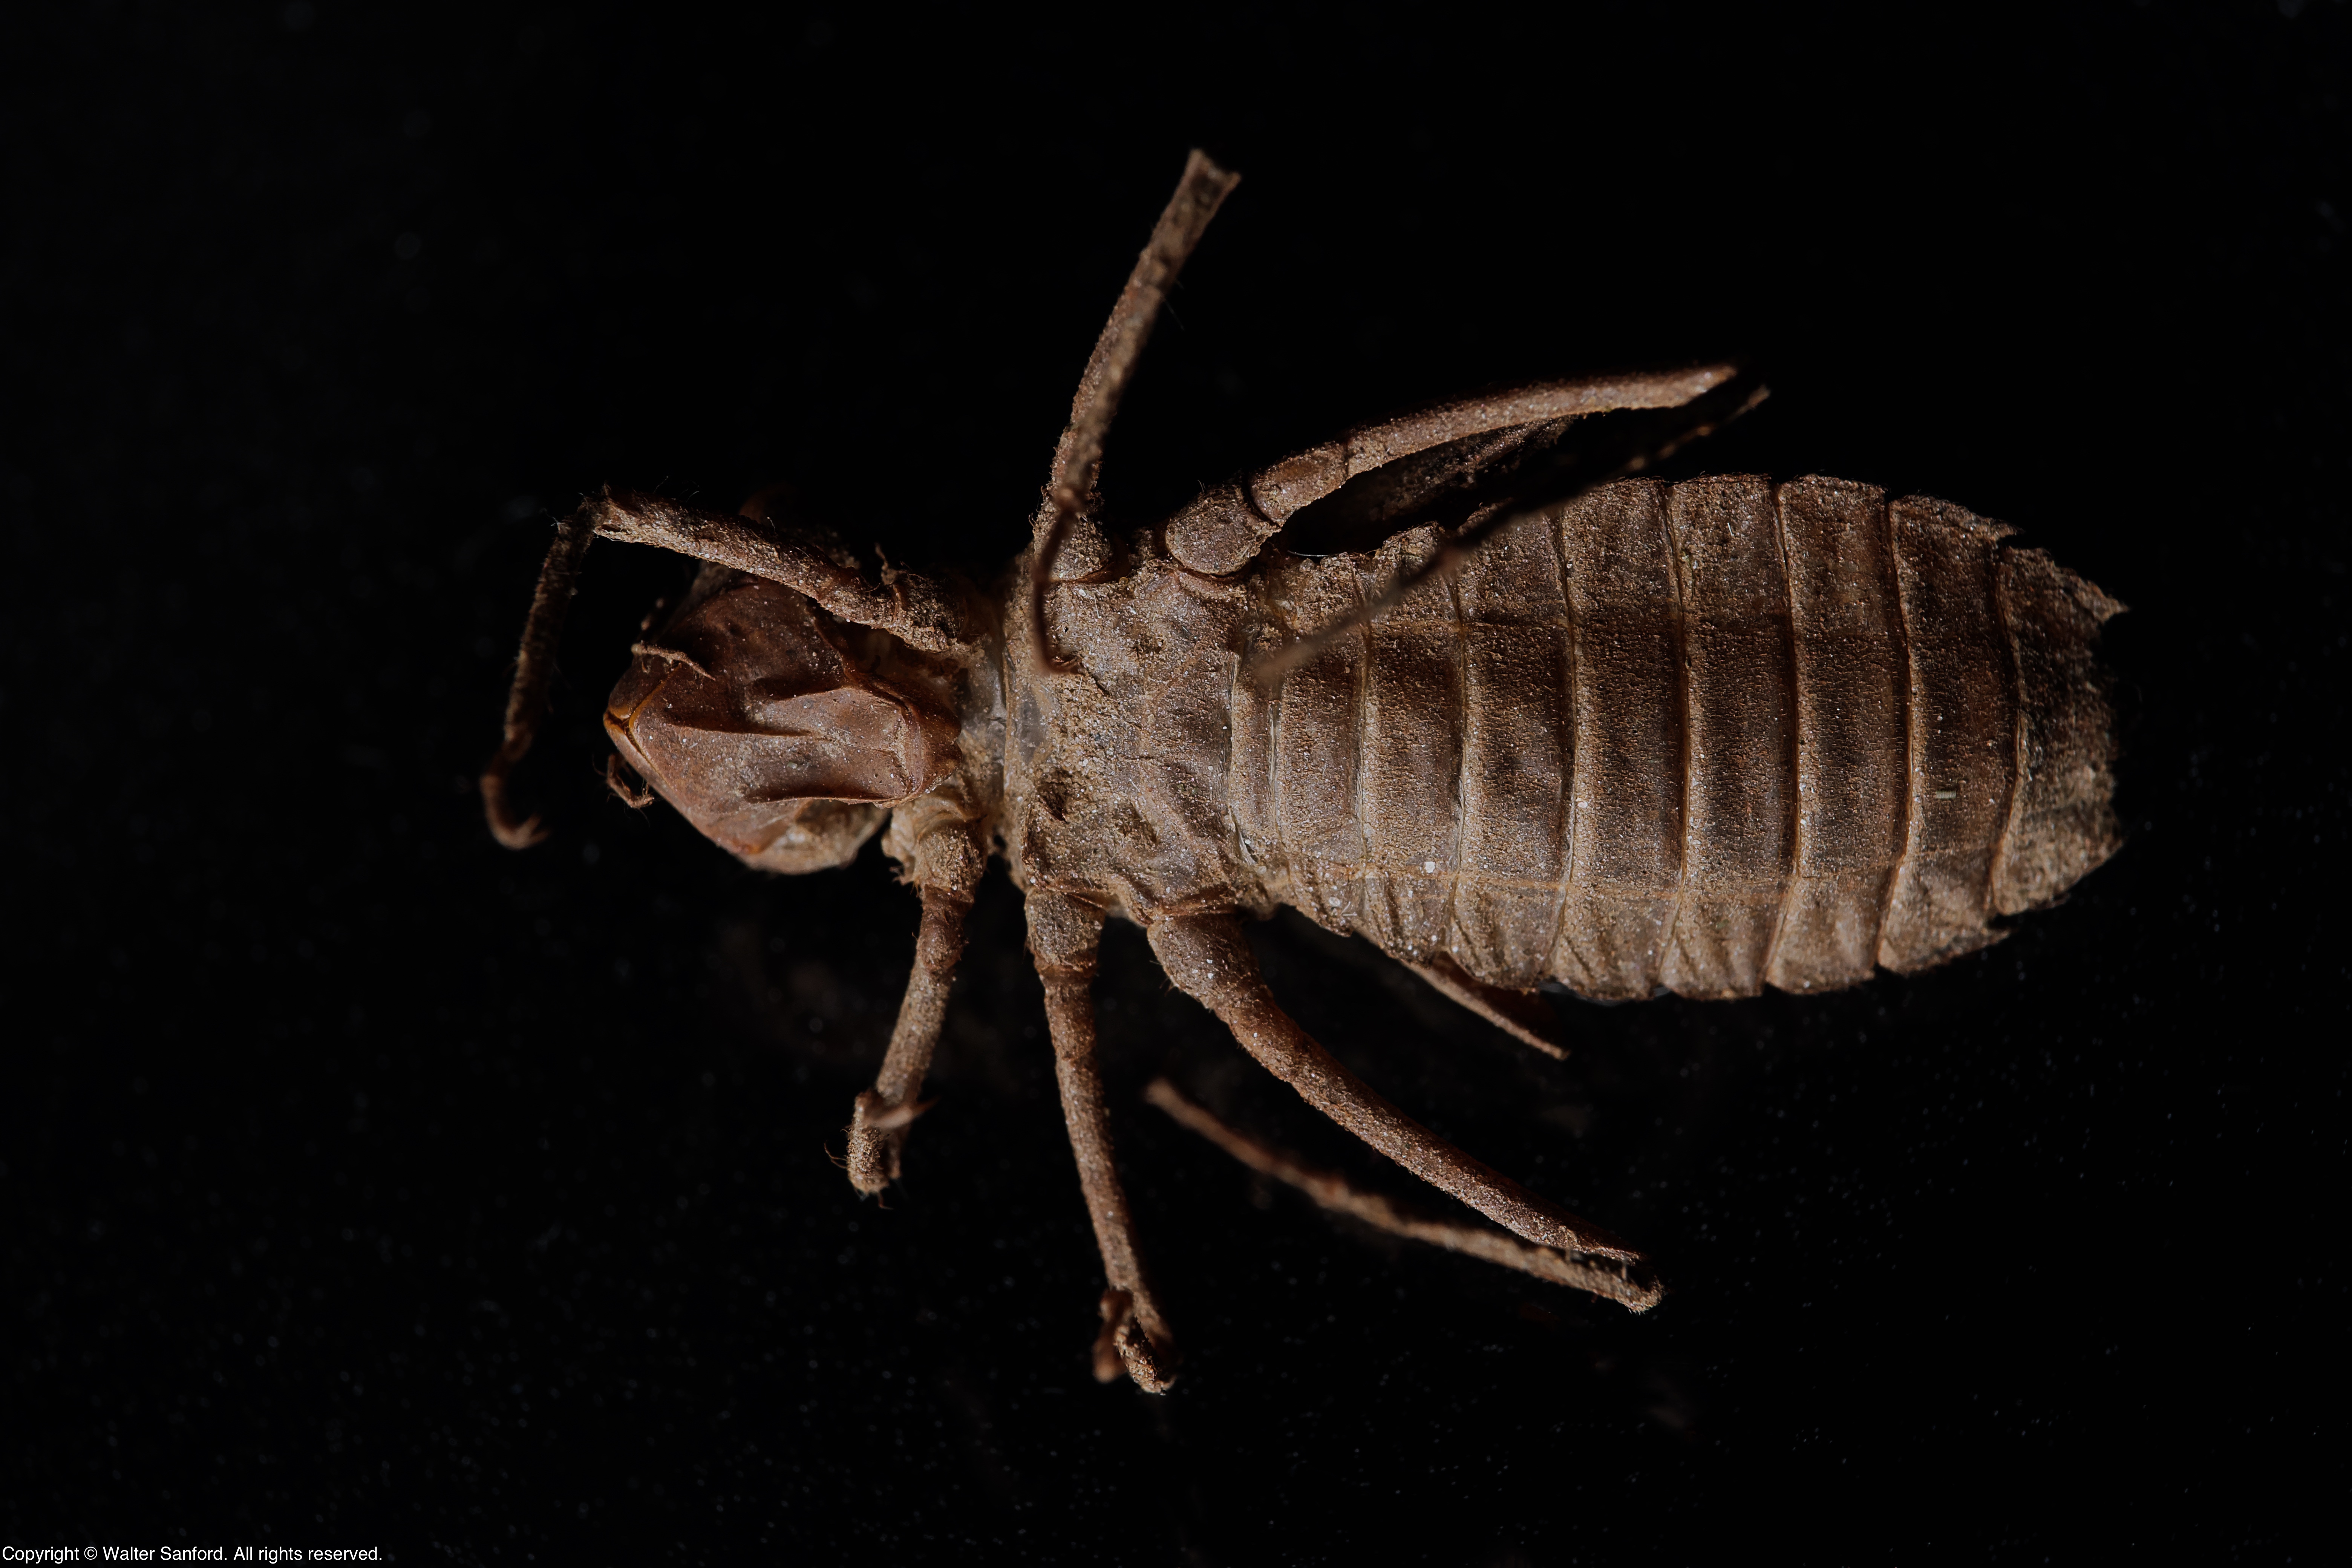
Using my clone of Rik Littlefield’s 0.8x magnification telecentric lens rig, there was little or no “focus breathing” in the test focus bracket that I created from 63 JPGs, as shown in the following slideshow.
First, a brief explanation of what is shown in the slideshow. The first frame is Photo No. 1 of 63 from the focus bracket, edited to make it black and white. The last frame in the slideshow is Photo No. 63 of 63, shown in full color.
I loaded the two photos as a stack in Photoshop. Next I changed the opacity of the last image in the slideshow to 0%, meaning the first image, now black and white, is shown completely. Then I flattened the layers and saved the output. I repeated the process, changing the opacity of the last image to 25%, 50%, 75%, and 100%. At an opacity of 100% the last image is shown completely and the first image cannot be seen.
Look closely at the slideshow and you might notice the subject shifts slightly to the right (from first to last slide), but nothing like the “focus breathing” that typically occurs when a non-telecentric lens is used to do focus bracketing. This means the photo composition that I saw in the first photograph is essentially the same in the last photo.
The following photo gallery features full-size versions of the same images used to create the slideshow, in order of increasing opacity.
-

- 0%
-

- 25%
-

- 50%
-

- 75%
-

- 100%
Let’s pause to review. We know the subject should appear to be larger when the camera moves closer to the subject. But in this case, the subject appears to be the same size in both the first and last shots of the focus bracket. Why? Well, this is the point where I might be beyond the limit of my expertise but based upon my understanding of telecentricity I’d say it’s because most of the light rays that pass through the lens rig are parallel.
Things are getting curiouser and curiouser
If my [educated?] guess is true, then parallel lines in a subject should remain parallel from foreground to background.
Let’s start with a thought experiment. Think about a pair of parallel railroad tracks. Many, if not most people have noticed that railroad tracks appear to converge toward a vanishing point in the distance. The same thing happens when you photograph parallel lines. Or does it? Not when a truly telecentric lens is used to shoot the photograph! Let’s look at an example.
I didn’t have time to shoot and post process an entire focus bracket of a small plastic ruler, so I shot two quick and dirty photos near the end points of the ruler. The first photo shows the foreground; the last photo shows the background.


I could have used Photoshop to edit the images so that the vertical blue lines are aligned, but I didn’t because I decided it’s more important to show another example that illustrates lack of “focus breathing.” Plus I think it’s easy to see at a glance the lines are in fact parallel, not convergent.
Yeah, yeah — I could have and should have done a better job of posing the ruler but like I said, the photos are quick and dirty. Expediency trumps perfectionism.
Post Update
Consistent with the “quick and dirty” theme for this post, I used Apple Preview to edit the preceding photos of a small plastic ruler.
I started with the first photo. I drew a horizontal red line between two vertical blue lines on the ruler. Next, I selected and copied a small area from the bottom of the photo.

Finally, I pasted the selected/copied area from the first photo onto the second photo. As you can see the vertical blues lines are virtually the same distance apart at both ends of the ruler. Therefore my Rube Goldberg lens rig is almost perfectly telecentric.

Related Resources
- Experimenting with a telecentric lens rig (plus Post Update)
- Telecentric lens rig revisited
- Telecentric combo at 0.8x to 1.69x, by Rik Littlefield – root of a long thread on photomacrography.net
Copyright © 2023 Walter Sanford. All rights reserved.


")
")
